
Loctite Tite Foam Gaps & Cracks Spray Foam Sealant, 12 fl oz Can, 12 Pack – Polyurethane Expands for Insulation
Original price was: $97.09.$83.76Current price is: $83.76.


Price: $97.09 - $83.76
(as of Sep 25, 2025 16:59:56 UTC – Details)
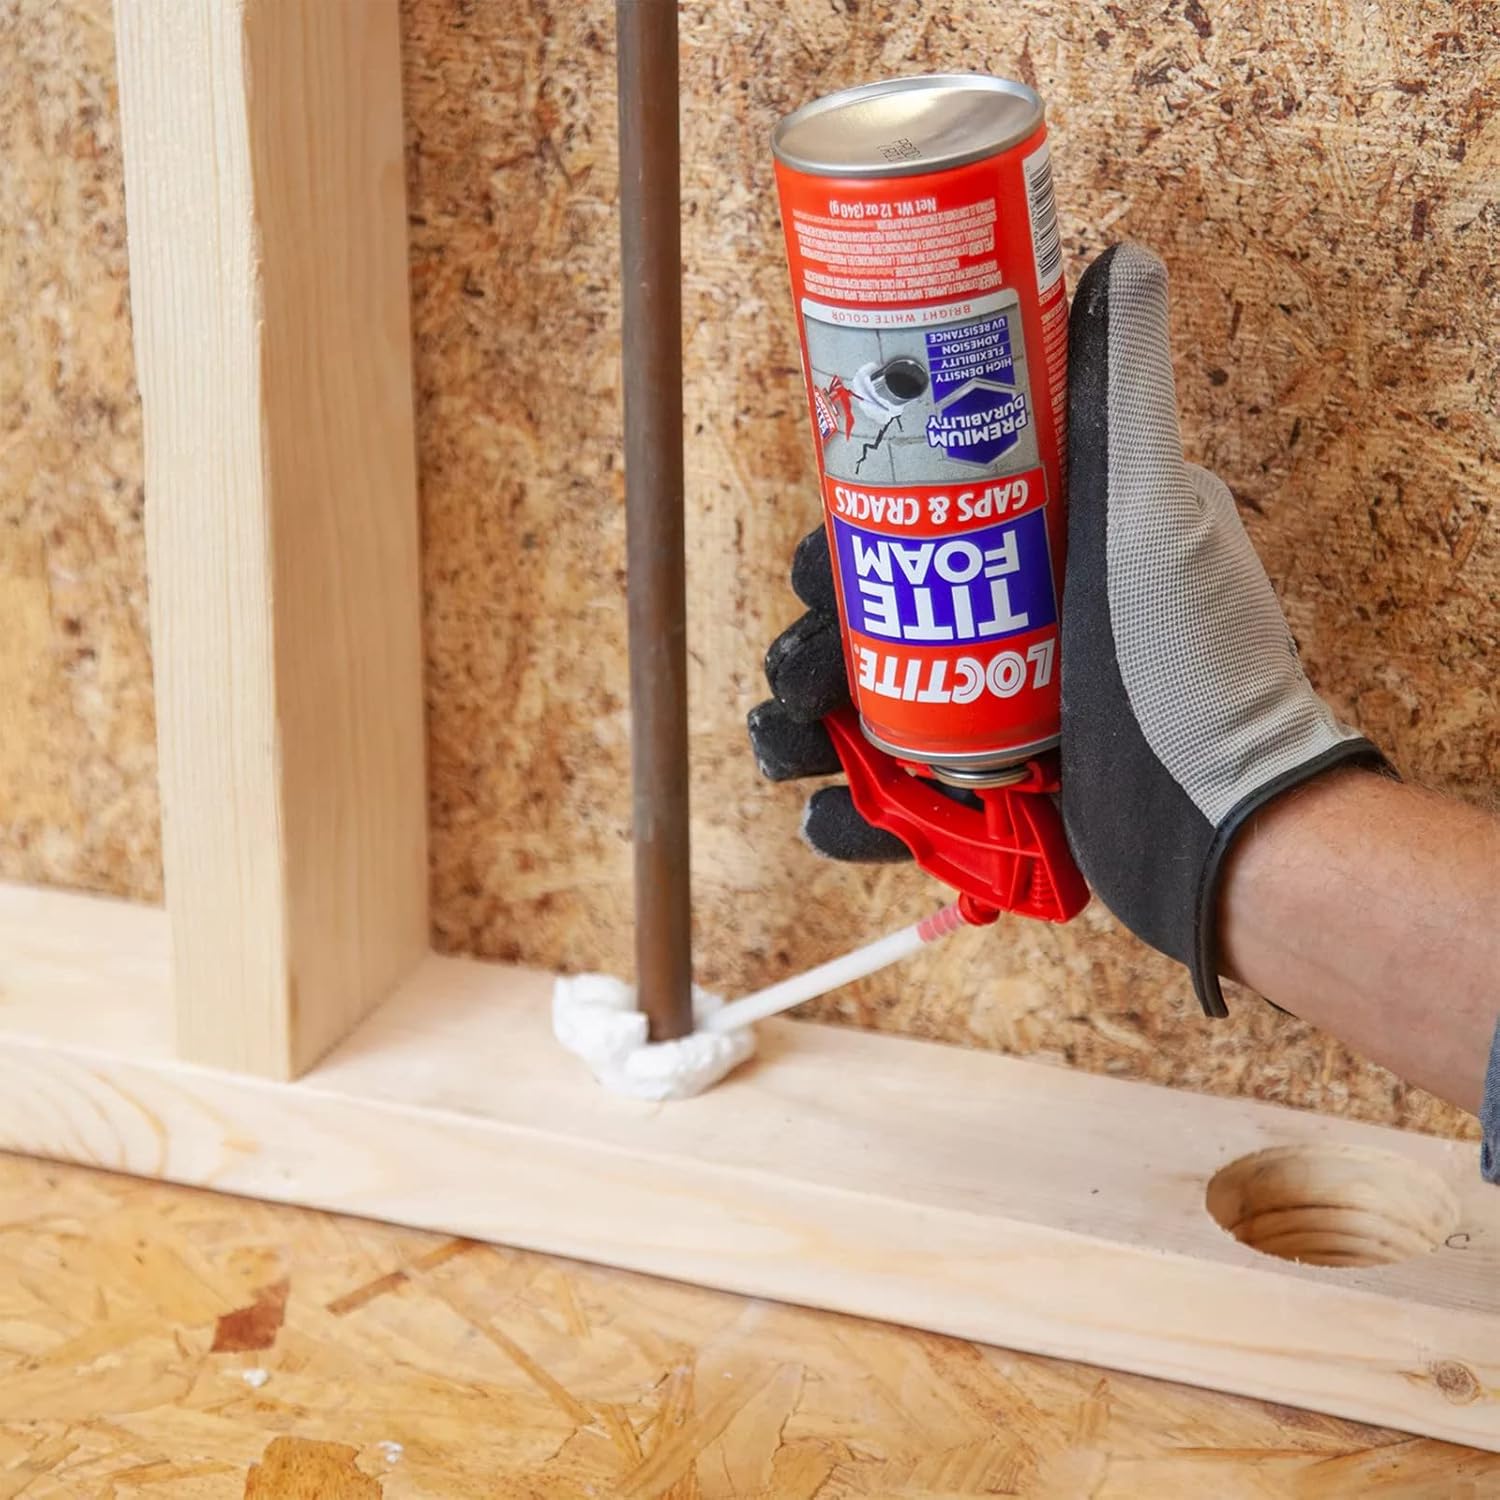
Loctite Tite Foam Gaps & Cracks is a new generation of polyurethane-based insulating foam sealant. It expands to fill, seal, and effectively insulate gaps and cracks up to 1 inch in size, inside and out! Based on purified and concentrated ingredients, it provides premium durability for your insulating needs. Loctite Tite Foam Gaps & Cracks is a bright white color and offers premium durability with its high density, flexibility, strong adhesion and UV resistance. Use to seal out air, moisture and pests in basements or crawlspaces, attic hatches and plumbing, HVAC or electrical penetrations. Quick and convenient to use and apply Tite Foam Gaps & Cracks offers an easy insulating spray foam option. It is recommended for use in both interior and exterior environments and is sandable and paintable.
Product Dimensions : 11.02 x 9.06 x 8.39 inches; 11.02 Pounds
Item model number : 1988753-12
Date First Available : January 12, 2017
Manufacturer : Henkel Corp
ASIN : B01MR56E8J
Best Sellers Rank: #143 in Industrial & Scientific (See Top 100 in Industrial & Scientific) #2 in Urethane Adhesives
Customer Reviews: 4.3 4.3 out of 5 stars 20,622 ratings var dpAcrHasRegisteredArcLinkClickAction; P.when(‘A’, ‘ready’).execute(function(A) { if (dpAcrHasRegisteredArcLinkClickAction !== true) { dpAcrHasRegisteredArcLinkClickAction = true; A.declarative( ‘acrLink-click-metrics’, ‘click’, { “allowLinkDefault”: true }, function (event) { if (window.ue) { ue.count(“acrLinkClickCount”, (ue.count(“acrLinkClickCount”) || 0) + 1); } } ); } }); P.when(‘A’, ‘cf’).execute(function(A) { A.declarative(‘acrStarsLink-click-metrics’, ‘click’, { “allowLinkDefault” : true }, function(event){ if(window.ue) { ue.count(“acrStarsLinkWithPopoverClickCount”, (ue.count(“acrStarsLinkWithPopoverClickCount”) || 0) + 1); } }); });
Expands To Fill: Loctite Tite Foam Gaps & Cracks fills, seals, and insulates effectively around gaps and cracks up to 1 inch in size
Premium Durability: Polymer foam based on purified and concentrated ingredients withstands harsh UV rays for long-lasting results
High Density Foam: Offers high density with a uniform cell structure for durability and overall insulation for your remodeling needs
Superior Flexibility: Withstands building and material movement without compromising its seal
Strong Adhesion: Sealant bonds to most building materials like wood, concrete, brick, stone, metal, pvc, and more
Customers say
Customers find the sealant works well, with one mentioning its effectiveness around windows. The quality receives mixed reviews, with some finding it good while others consider it horrible. The product’s stickiness is a significant concern, as customers report it being insanely sticky and impossible to remove from hands.
12 reviews for Loctite Tite Foam Gaps & Cracks Spray Foam Sealant, 12 fl oz Can, 12 Pack – Polyurethane Expands for Insulation
Add a review
Related Products


Original price was: $97.09.$83.76Current price is: $83.76.

R –
Stuff is amazing! But a bit of a learning curve. Learn from MY mistakes!
TLDR: This stuff is great and 100% accomplished what I needed in what I think was a somewhat challenging use case. However, there was a bit of a learning curve for applying it properly.- The Project: Creating a vent for portable AC exhaust hose in a disgusting and ancient basement window.- The Process: First I removed the old and already completely shattered glass window from the window frame. I tried to chip out all of the old mortar or whatever it was that held the old glass window into the frame but some of the bits were impossible to remove. I knew I wanted to remove as much of that as possible so that the new panel that I put in place would sit flush and make for a better seal. This proved extremely difficult but I was eventually able to get the panel to fit into the metal framing fairly well.Once the vent panel was in place I started with the foam. There was a learning curve.I started from the outside of the house. Applying the foam into the gap at the bottom went perfectly fine. Then things got ugly. When I first tried to seal along the right side, going up and down vertically, the foam just sort of rolled off the front of the vent panel. It made a mess and was turning what had been a surprisingly tidy and semi-professional looking result into a huge mess. And more importantly, the seal was clearly not made. There was no insulation along the right side and the panel was in no way attached to the frame with any adhesive along that side. It was still secured fairly well from the physical fitment but it wasn’t glued at all. This was a major problem and I thought my project was going off the rails.I removed the excess foam that had slid down the side of the panel with my hands (more on that later) to clear it off and give me a second chance. Next I went across the top horizontally with better results, similar to what happened along the bottom, but I still had not gotten the hang of using this foam. I went along the left side vertically and again had it sliding around and had to remove with my hands. I tried again and the foam sort of went into place and did what I wanted it to do but I still didn’t understand why or what I had done differently to get the right seal and behavior of the foam.At this point, I decided to start sealing from the inside. But I knew I needed to move fast because I wanted to be able to sort of push the panel into place pushing it outward from inside the house to make for a better seal and fit. But I knew I wouldn’t be able to do that if the foam had dried. However, my hands were now completely useless as they were covered with this stuff. After about a 5 minute diversion to the slop sink I had removed enough of the stuff to get my hands back to a functional state.I went to sealing the window from the inside and here is where I finally learned how to use this stuff correctly. I had a gap of about an 3/4″ between the edge of the vent panel and the styrofoam backing. So naturally, when I started applying the foam sealer on the inside I was spraying the foam into that gap. And this provided an amazing realization.- Using this product properly: Apply minimal force on the trigger. You don’t need to blast this stuff out at a high rate. Spray the foam into a gap (duh!) and the foam will expand to fill the gap (again duh!). As long as you are spraying it slowly into a gap it will expand to fill the area and create adhesion on all sides which will prevent it from being pulled down by gravity or just sort of glooping up on the surface. Just based on the description and purpose of this product and my intended goal with using it, I feel kind of dumb that I didn’t do this right from the start.- The Process, continued: With this new understanding of how to apply this foam I completed the inside and went back outside. I carefully position the straw so as to make sure the foam would be quite literally injected into a gap. The foam expanded to fill the gap and didn’t gloop up or slide downward. You can’t just spray it on the surface…you have to stick the straw into the gap and inject foam into the gap.- Conclusion: End result was probably about as good as I possibly could have hoped for given my complete lack of experience with doing anything like this. I made a mess of my hands but after only about 5-10 mins of washing my hands with regular dish soap I had removed 75% of the adhesive from my hands. About a half day later 95% of is gone. So yes, be careful with handling it, and yes I should have worn gloves. But it’s not THAT bad if you get it all over your hands. Your best bet with this stuff is going to be to press VERY lightly on the trigger when applying it. This will keep things neater and avoid the disasters I’ve seen in the customer images here.This product is great and I think completely lives up to what it says it does. There is a learning curve though but once you get the hang of it your result can be both functional and neat and tidy.
Jewels –
Works well and secured our meter box to the house!
We had an issue with our electric meter box coming loose and found out because the electric company left a repair needed note. I called several electricians to come out and fix it and they wanted $800 plus! My husband purchased this phone to put behind the meter box as I have pulled away from the house and it worked beautifully! After the foam dried he leveled the phone down to be the same height as the house and then framed the meter box. Needless to say we saved $800 and this stuff works like a charm! I’ve used products like this before in the longevity and where is substantial. Phone dries quickly so we didn’t have to wait all day to finish the repair and the longevity of this item is yet to be seen but as with most foam adhesive sprays I’m sure this will last a very long time! I will definitely purchase this again!
Amazon Customer –
Foam never became firm after hours in the sun
This product takes MUCH longer to cure than others I have used. For a 2″ thick X 7″ wide X 10″ long gap mine took 6+ hrs to cure. At 4 hours in 94 deg full sun it was still consistency of Cool Whip. Other brands normally cure to solid in less than 1 hr. That may be a good or bad thing depending on what you are using it for.
Arii –
This is it !
Watch how much is being use it really expands a lot but this product is amazing, no odor and really fills in completely all gaps and spaces
Zach M. –
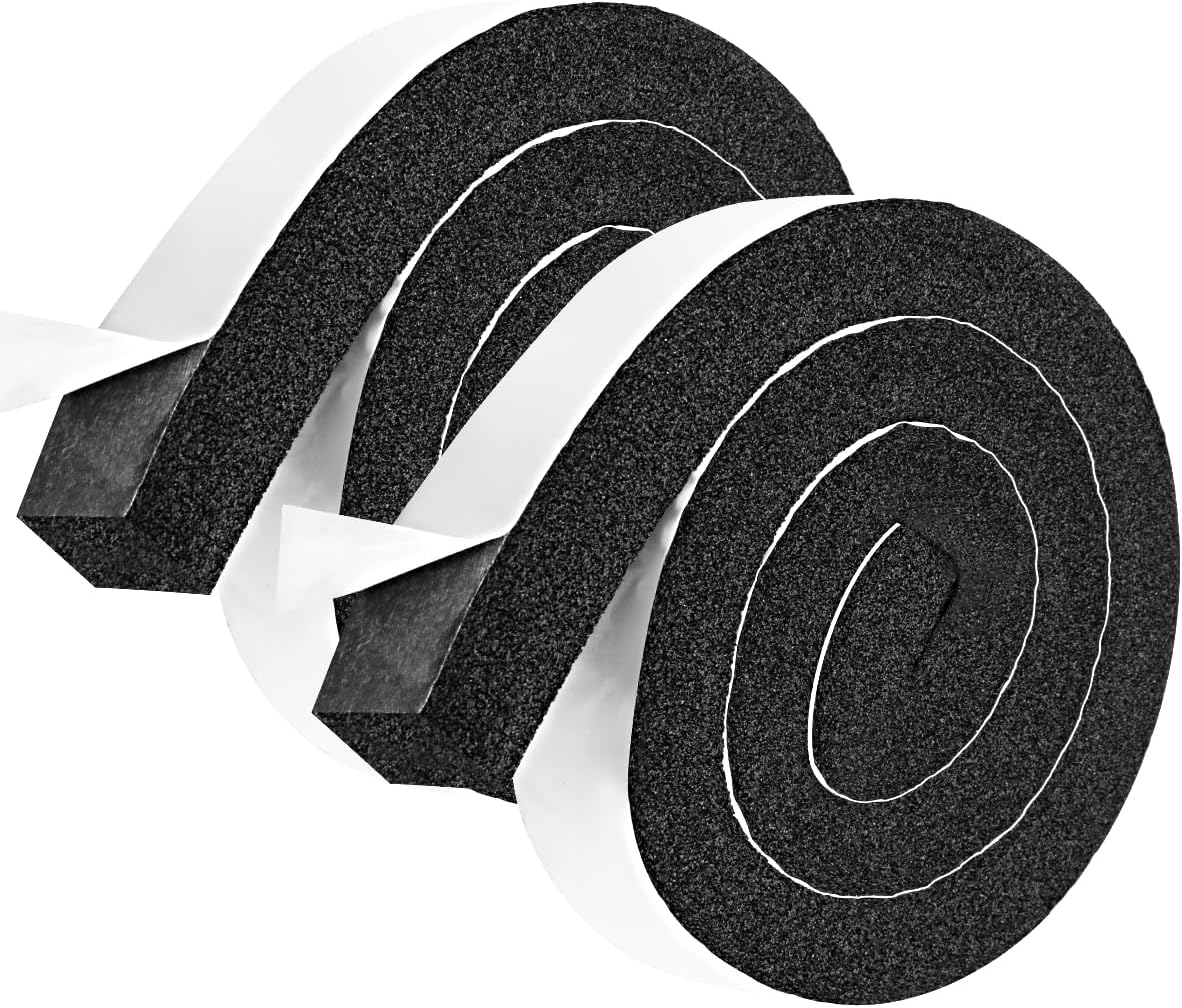
Great value foam filler
Double set of filler foam. Great for diy art projects. I sculpt so these will be awesome for making bases. They donât smell great but theyâre a good value and function well!
Joshua Kirk –
Great for filling holes and gaps.
I installed a bathroom fan and had about an inch gap that needed to be sealed. I used 3M tape to mask off the area, leaving a small hole for the foam nozzle. I sprayed it in and it did the trick. The gap was filled and it stayed in the masked-off areas.
Habernewton –
Poor dispenser design
Why did you pick this product vs others?:The insulation is quality, but getting it to dispense correctly is the problem. I’ve used a lot of spray foam insulation similar to this. Usually your dispensing trigger screws onto the top of the can. This is a simple design that I’ve never had fail on me.This design is very strange and failed on me twice rendering my cans useless. I won’t buy this product again even though the insulation is the type I tend to need. The problem is the trigger assembly clips onto the top of the can. So the footprint of plastic on this cap is large creating failure points on the dispenser. Mine fail right at the point the plastic needs to flex to depress the top of the spout to release the foam. What happen when this fails is the foam comes out mostly around the trigger where your finger is. This happened to me on two cans, was able to salvage a little bit on one can but basically threw them away and grabbed a can of the style with the screw on trigger. Again, not a product for me considering my issues. Maybe I got a couple lemons, but I’m going to save my money and use other products.Good luck if you try it out. I hope it works for you.The attached picture is of where the foam ends up coming out for me. I dug it out of the trash so it wasn’t attached to the can anymore, but that’s where the issue was for me.
Marie-Claude B. –
If you take care of your hands like my husband did after reading comments, it does a good job! Becomes real hard when it dries. It wont let the wind or bugs come inside!
Ibraheem alhamadi –
ت٠اÙ
Khalid –
ÙÙÙ٠غاÙÙ
ravi –
Wery nice product
KING(IE) –
Easy to use